

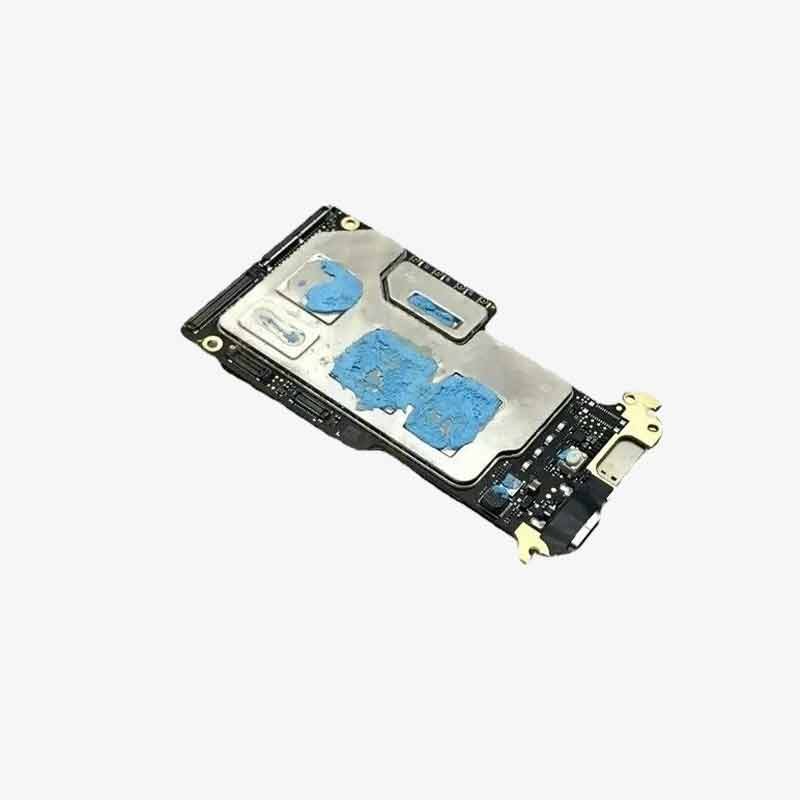
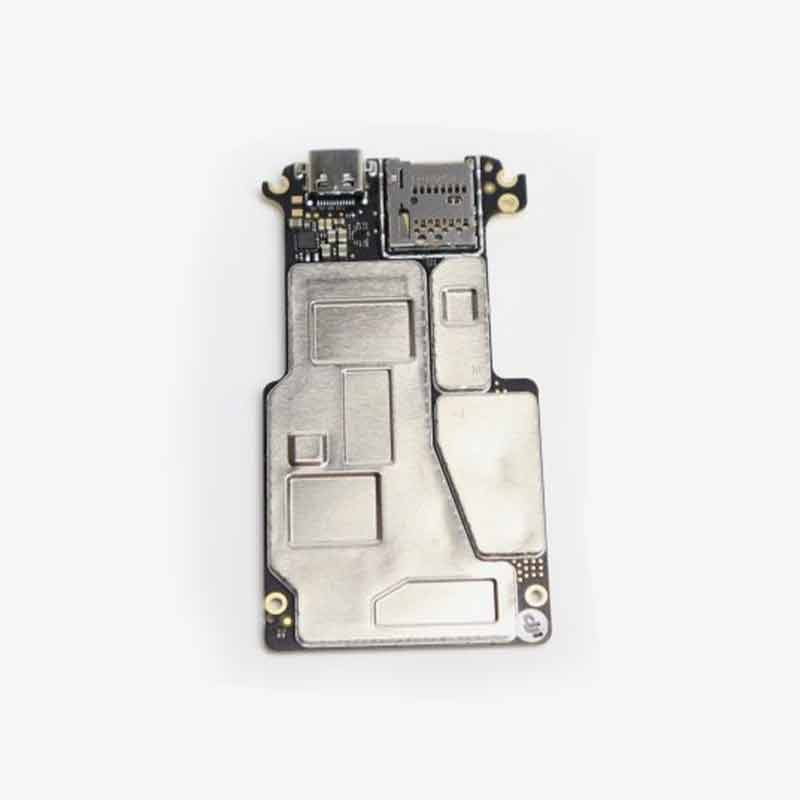
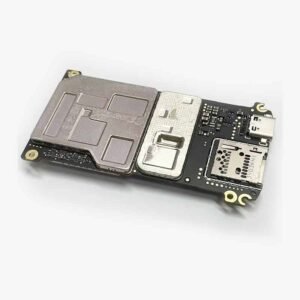

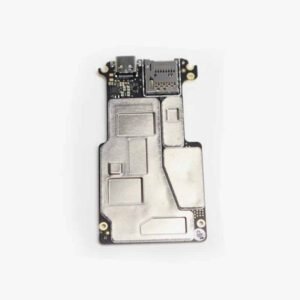
Mini 3 Pro Motherboard
₹38,999.00 Original price was: ₹38,999.00.₹31,999.00Current price is: ₹31,999.00. incl. Gst
- Compatible with: DJI Mini 3 Pro
- Product Type: Main flight control motherboard (PCB)
- Function: Core circuit board handling flight control, GPS, ESC, and communication
- Material: Multi-layer PCB with integrated ICs
- Features: GPS module, IMU sensors, processor, and power distribution
- Installation: Requires technical knowledge and disassembly
- Use Case: Replacement for damaged or non-functional mainboards
- Condition: Original OEM part
Need Help? Chat with an Expert
- 9891098328
Free Shipping & Returns
Assured Quality
Online Support 24/7
Secure Payment
- Description
- Specification
- Additional information
- Reviews (0)
Description
The Brain Behind the Flight – Time for a Smart Upgrade
When your DJI Mini 3 Pro suddenly refuses to wake up, acts weird mid-air, or completely gives up on charging, the problem isn’t in the arms or the motors—it’s usually hiding in the motherboard. Meet the Mini 3 Pro Motherboard, the central control unit that makes your drone think, fly, react, and record all those jaw-dropping shots. It’s the brain, the heart, the command center—basically, everything except the propellers. Whether you’ve suffered a water landing, a power surge, or an unfortunate drop from the sky, this motherboard brings your drone back to life, one clean circuit at a time.
Key Features
OEM-Grade Compatibility with DJI Mini 3 Pro
This motherboard is not a random chip pulled from a broken toaster—it’s engineered specifically for the Mini 3 Pro. It fits perfectly inside the drone’s body, matches all connectors, and speaks the exact language of your drone’s camera, GPS, motors, and battery system. No guesswork, no wire matching, just a straight-up replacement that clicks into place and gets your drone thinking again.
Restores Flight Control, Video Transmission & Charging
The motherboard is responsible for keeping all systems alive and talking to each other. From gimbal signals to video feed, GPS locking to battery management—everything goes through it. If your drone won’t turn on, doesn’t charge, or can’t connect to the app, this little board is likely the one needing a fresh start. Replace it and watch your Mini 3 Pro spring back to life with full functionality.
High-Quality Circuit Design Built to Withstand Flight Stress
This isn’t a fragile piece of plastic—it’s a high-grade circuit board built to survive vibration, heat, moisture, and minor shocks. Made with durable PCB materials and tested under aerial stress, it’s ready for your sky-high adventures. Whether you’re filming beaches or mountains, this board doesn’t flinch and keeps your drone’s internals humming in harmony.
Factory-Prepped for Easy Installation (But Take It Slow)
No need to solder like Tony Stark. This board comes with factory-fitted connectors that match your drone’s internal wiring. Still, installation is delicate work—open the shell carefully, disconnect the damaged board, slot in the new one, and reconnect everything in the right order. If you’ve ever fixed a smartphone, this won’t feel too scary—but patience is your best friend.
Essential for Reviving Dead or Bricked Mini 3 Pros
If your drone shows no lights, no buzz, no response even after a full charge, chances are your motherboard took the hit. This replacement part is the ultimate fix. Instead of tossing your drone aside or buying a new one, just swap this board and bring it back from the grave—ready to fly like it never had a breakdown.
How to Use
-
Turn Off & Remove Battery: Never open your drone while it’s powered or charging—remove the battery completely.
-
Open the Drone Shell: Use proper precision tools to unscrew the body without cracking it.
-
Disconnect the Old Motherboard: Gently unplug all ribbon cables and connections from the damaged board.
-
Install the New Board: Line up the connectors and screw the new motherboard in place firmly.
-
Reassemble & Test: Close the body, insert the battery, and power on your drone. Check for camera, flight, and charging functions.
How to Clean
-
Use a Soft Brush or Blower: Remove dust using an anti-static brush or gentle air blower.
-
Avoid Any Moisture: Never clean with liquids—even a drop of water can fry the circuits.
-
No Chemical Cleaners: Don’t use alcohol or sprays—stick to dry cleaning only.
-
Watch the Connectors: If you’re cleaning before install, be extra careful around the connector pins.
-
Do a Final Wipe: Before closing the shell, give the board a gentle once-over to remove any particles.
How to Take Care
-
Handle with Antistatic Tools: Use a grounded mat or wrist strap when touching the board.
-
Store in Safe Packaging: If not using immediately, keep it in an anti-static bag, away from dust and heat.
-
Avoid Physical Stress: Don’t press hard while installing—motherboards hate pressure.
-
Don’t Mix Up Connectors: Always match cables to the right ports—label if needed.
-
Test Before Flying: After installation, do a dry run to confirm all components respond properly.
Do’s & Don’ts
Do’s:
-
Use official or high-quality parts
-
Follow a disassembly video tutorial
-
Keep screws organized during the process
Don’ts:
-
Don’t force connectors into place
-
Don’t leave the board exposed to moisture
-
Don’t fly before fully testing all systems
Safety Tips
-
Disconnect All Power Before Repairs
-
Use Only Antistatic Tools
-
Keep Children Away from Open Circuitry
-
Avoid Working in Humid Environments
-
Test Functionality Indoors Before Flying Outdoors
Final Take
The Mini 3 Pro Motherboard is the beating heart of your drone—without it, nothing works. If you’ve lost flight controls, camera feed, charging, or basic response, this replacement brings back everything your drone needs to perform like new. Engineered for exact compatibility, easy installation, and full recovery, this is the fix that saves you from buying a new drone.
Give your DJI Mini 3 Pro a second life—order the motherboard now and get back to the skies with full confidence.
Large Specifications
| Specification | Details |
|---|---|
| Product Name | Mini 3 Pro Motherboard |
| Compatibility | DJI Mini 3 Pro Drone |
| Product Type | Central Flight Controller / Mainboard PCB |
| Function | Controls all core drone systems including GPS, ESCs, IMU, and signals |
| Material | High-density Multi-layer Printed Circuit Board |
| Integrated Components | Processor, IMU sensors, GPS module, barometer, power management system |
| Firmware Support | Supports official DJI firmware updates |
| Mounting Points | Pre-aligned screw holes and connector ports for plug-and-play parts |
| Power Distribution | Built-in circuitry for battery and motor voltage regulation |
| Installation | Advanced level – requires full drone disassembly and precision tools |
| Use Case | Replacement for damaged, burnt, or non-functional flight boards |
| Packaging | 1 x Mini 3 Pro Motherboard in anti-static, shockproof packaging |
Additional information
| Weight | 0.2 g |
|---|---|
| Dimensions | 15 × 15 × 5 cm |
Be the first to review “Mini 3 Pro Motherboard” Cancel reply
Overview
The Brain Behind the Flight – Time for a Smart Upgrade
When your DJI Mini 3 Pro suddenly refuses to wake up, acts weird mid-air, or completely gives up on charging, the problem isn’t in the arms or the motors—it’s usually hiding in the motherboard. Meet the Mini 3 Pro Motherboard, the central control unit that makes your drone think, fly, react, and record all those jaw-dropping shots. It’s the brain, the heart, the command center—basically, everything except the propellers. Whether you’ve suffered a water landing, a power surge, or an unfortunate drop from the sky, this motherboard brings your drone back to life, one clean circuit at a time.
Key Features
OEM-Grade Compatibility with DJI Mini 3 Pro
This motherboard is not a random chip pulled from a broken toaster—it’s engineered specifically for the Mini 3 Pro. It fits perfectly inside the drone’s body, matches all connectors, and speaks the exact language of your drone’s camera, GPS, motors, and battery system. No guesswork, no wire matching, just a straight-up replacement that clicks into place and gets your drone thinking again.
Restores Flight Control, Video Transmission & Charging
The motherboard is responsible for keeping all systems alive and talking to each other. From gimbal signals to video feed, GPS locking to battery management—everything goes through it. If your drone won’t turn on, doesn’t charge, or can’t connect to the app, this little board is likely the one needing a fresh start. Replace it and watch your Mini 3 Pro spring back to life with full functionality.
High-Quality Circuit Design Built to Withstand Flight Stress
This isn’t a fragile piece of plastic—it’s a high-grade circuit board built to survive vibration, heat, moisture, and minor shocks. Made with durable PCB materials and tested under aerial stress, it’s ready for your sky-high adventures. Whether you’re filming beaches or mountains, this board doesn’t flinch and keeps your drone’s internals humming in harmony.
Factory-Prepped for Easy Installation (But Take It Slow)
No need to solder like Tony Stark. This board comes with factory-fitted connectors that match your drone’s internal wiring. Still, installation is delicate work—open the shell carefully, disconnect the damaged board, slot in the new one, and reconnect everything in the right order. If you’ve ever fixed a smartphone, this won’t feel too scary—but patience is your best friend.
Essential for Reviving Dead or Bricked Mini 3 Pros
If your drone shows no lights, no buzz, no response even after a full charge, chances are your motherboard took the hit. This replacement part is the ultimate fix. Instead of tossing your drone aside or buying a new one, just swap this board and bring it back from the grave—ready to fly like it never had a breakdown.
How to Use
-
Turn Off & Remove Battery: Never open your drone while it’s powered or charging—remove the battery completely.
-
Open the Drone Shell: Use proper precision tools to unscrew the body without cracking it.
-
Disconnect the Old Motherboard: Gently unplug all ribbon cables and connections from the damaged board.
-
Install the New Board: Line up the connectors and screw the new motherboard in place firmly.
-
Reassemble & Test: Close the body, insert the battery, and power on your drone. Check for camera, flight, and charging functions.
How to Clean
-
Use a Soft Brush or Blower: Remove dust using an anti-static brush or gentle air blower.
-
Avoid Any Moisture: Never clean with liquids—even a drop of water can fry the circuits.
-
No Chemical Cleaners: Don’t use alcohol or sprays—stick to dry cleaning only.
-
Watch the Connectors: If you’re cleaning before install, be extra careful around the connector pins.
-
Do a Final Wipe: Before closing the shell, give the board a gentle once-over to remove any particles.
How to Take Care
-
Handle with Antistatic Tools: Use a grounded mat or wrist strap when touching the board.
-
Store in Safe Packaging: If not using immediately, keep it in an anti-static bag, away from dust and heat.
-
Avoid Physical Stress: Don’t press hard while installing—motherboards hate pressure.
-
Don’t Mix Up Connectors: Always match cables to the right ports—label if needed.
-
Test Before Flying: After installation, do a dry run to confirm all components respond properly.
Do’s & Don’ts
Do’s:
-
Use official or high-quality parts
-
Follow a disassembly video tutorial
-
Keep screws organized during the process
Don’ts:
-
Don’t force connectors into place
-
Don’t leave the board exposed to moisture
-
Don’t fly before fully testing all systems
Safety Tips
-
Disconnect All Power Before Repairs
-
Use Only Antistatic Tools
-
Keep Children Away from Open Circuitry
-
Avoid Working in Humid Environments
-
Test Functionality Indoors Before Flying Outdoors
Final Take
The Mini 3 Pro Motherboard is the beating heart of your drone—without it, nothing works. If you’ve lost flight controls, camera feed, charging, or basic response, this replacement brings back everything your drone needs to perform like new. Engineered for exact compatibility, easy installation, and full recovery, this is the fix that saves you from buying a new drone.
Give your DJI Mini 3 Pro a second life—order the motherboard now and get back to the skies with full confidence.
Details
| specifications | |
|---|---|
| Width | 15cm |
| Height | 5cm |
| Length | 15cm |
| Weight | 0.2g |


Reviews
There are no reviews yet.