

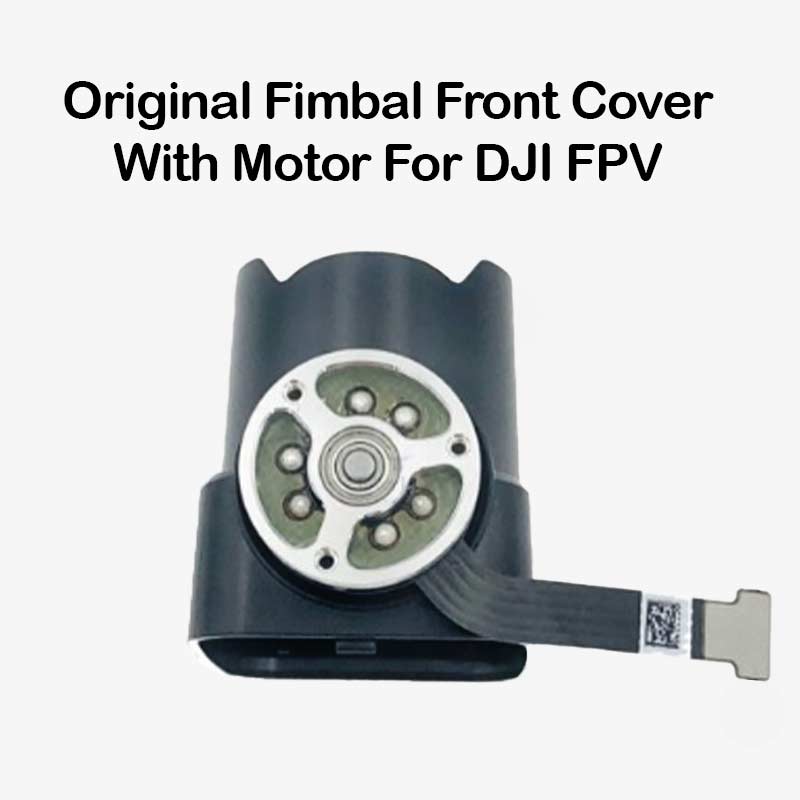
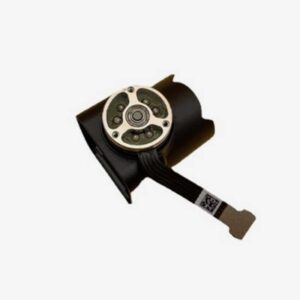
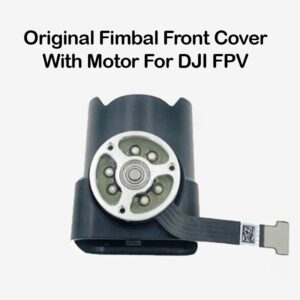

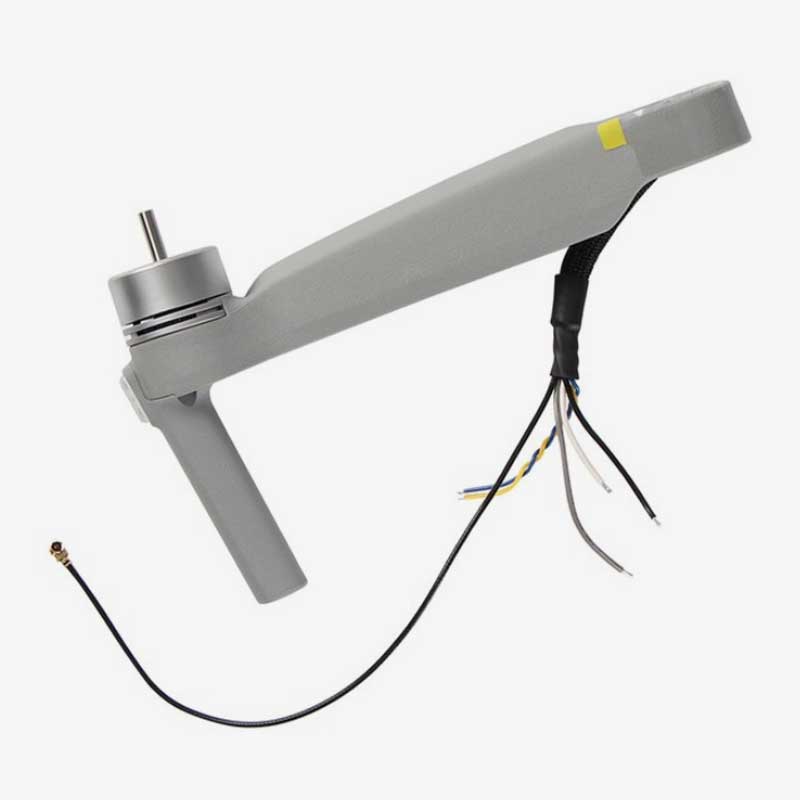
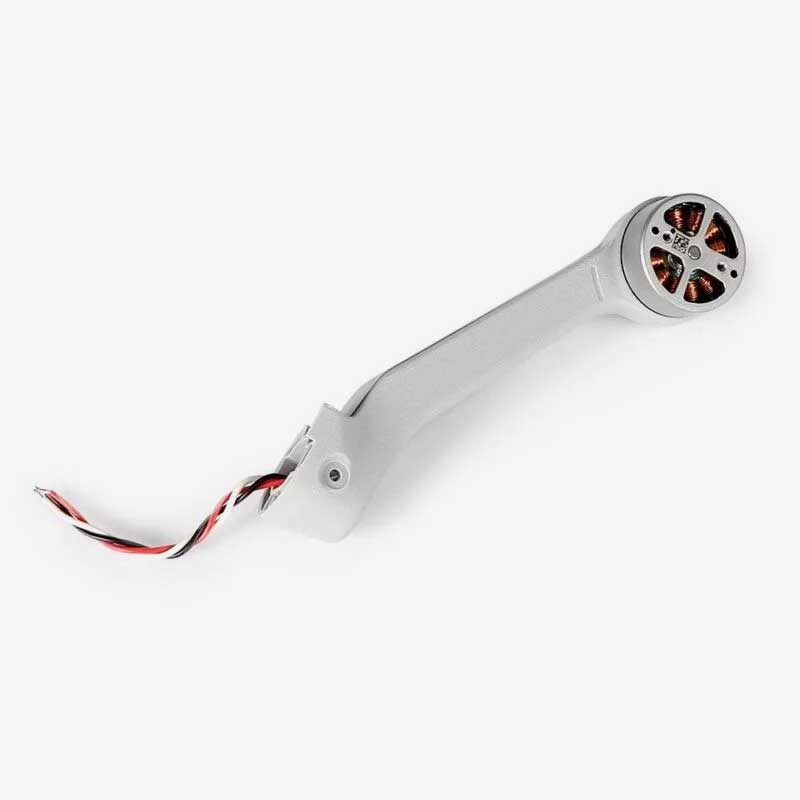
Gimbal Front Shell Motor Part For DJI FPV
₹1,199.00 Original price was: ₹1,199.00.₹699.00Current price is: ₹699.00. inc. Gst
- Drone Compatibility – Designed for DJI FPV drone
- Part Type – Gimbal front shell with motor lens frame
- Material – High-strength plastic and lightweight alloy
- Protective Role – Shields the camera lens and gimbal motor
- Precision Fit – Molded specifically for the DJI FPV gimbal system
- Color – Matches original DJI FPV grey finish
- Installation – Requires partial disassembly of the gimbal
- Lightweight Design – Minimal impact on gimbal balance
- Lens Support – Holds the camera lens in correct alignment
- OEM Quality – Authentic-grade replacement part

Need Help? Chat with an Expert
- 9891098328
Free Shipping & Returns
Assured Quality
Online Support 24/7
Secure Payment
- Description
- Specification
- Reviews (0)
Description
Camera Case Lens Frame for DJI FPV – Because Even Drones Deserve a Face-Lift
Flying at full speed, doing flips, and showing off like a Bollywood hero—your DJI FPV drone leads a pretty dramatic life. But all that action takes a toll, and sometimes the camera case takes the hit. Whether it met a tree mid-flight or just had a rough landing, this Camera Case Lens Frame Replacement is here to give your FPV drone a fresh face. It’s not just a spare part; it’s your drone’s new selfie-ready look with full protection and proper alignment for the gimbal and front shell. Time for a makeover, your drone will thank you for (in high-definition, of course).
Key features of Camera Case Lens Frame For DJI FPV Gimbal Front Shell Motor Part
1. Perfect Match for DJI FPV’s Gimbal and Front Shell
When your FPV drone’s original faceplate gets cracked or misaligned, it can throw the whole vibe off—your gimbal starts acting confused, your footage looks like a bad dream, and your drone starts flying with a limp. This replacement frame is made with perfect OEM-level precision to restore harmony in your drone’s front-end structure. It aligns flawlessly with the gimbal, supports the motor section like it’s holding its best friend, and brings everything back to the original “fresh out of the box” glory. You don’t have to force-fit anything or offer silent prayers to the alignment gods—this piece just clicks in like it was born there.
2. Protects the Camera Like It’s Holding the Crown Jewels
The camera on your DJI FPV is not just a sensor—it’s your drone’s third eye, its main storyteller, and your personal cinematographer in the sky. This replacement lens frame doesn’t just sit there looking pretty. It wraps around the camera like a helmet, shielding it from unexpected smacks, dust, accidental finger pokes, and even kamikaze bugs that love to photobomb. Whether you’re ripping through forests or chasing sunsets, this frame makes sure your camera stays protected and your footage remains National-Geographic-worthy.
3. Tough Enough to Handle Your Flying Style (Even on Mondays)
Let’s face it—FPV drones aren’t meant for slow scenic tours. They’re adrenaline junkies with propellers. Which means, if you fly like you’re auditioning for a stunt double role, your drone needs tough gear. This camera case lens frame is made of durable, crash-resistant plastic that doesn’t panic when things get rough. It’s built to handle sudden impacts, close calls, and those legendary “almost made it” landings. In short, it’s more dependable than your friend who said he’d return your charger last year.
4. Fixes Camera Angle Woes Like a Gimbal Whisperer
If your footage suddenly looks tilted, shaky, or like a 2003 phone video, chances are your camera frame has gone rogue. This part steps in like a gimbal therapist—realigns everything, restores balance, and lets your motor and gimbal move in perfect harmony. Your camera stabilizes, your drone stops shaking like it saw a ghost, and your shots become cinematic again. One small fix, one giant leap for footage quality.
5. Install It Without Calling That One ‘Techie’ Cousin
You don’t need an engineering degree, a soldering kit, or a ritual circle of drone parts to install this. With just a screwdriver, a steady hand, and the emotional strength to face your broken drone, you can install this frame easily. It’s designed to be user-friendly, so the screw holes match perfectly, and the process won’t turn into a two-hour therapy session. No stress, no panic—just a straightforward DIY upgrade that makes you feel like a drone surgeon.
How to Clean the Camera Case Lens Frame Replacement
-
Start with a Dust-Off Ritual – Gently blow away dust using a rubber air blower or short puffs of compressed air. This removes surface debris without scratching the lens frame or shell area.
-
Use a Microfiber Cloth on the Frame – Lightly wipe the exterior of the camera case with a clean microfiber cloth. This prevents scratches while keeping the shell looking sharp and fresh.
-
Clean the Lens Window Gently – If the lens glass is attached, use lens-safe cleaning solution and a soft lens wipe to remove smudges and fingerprints. No pressure—just smooth circular movements like polishing a crystal ball.
-
Detail the Edges – Use a soft-bristle brush or cotton swab to clean around edges, screws, and tight corners. Dirt often hides where you can’t see, so give every nook some attention.
-
Dry and Inspect – After cleaning, let everything air dry naturally and double-check for smudges or lint. A spotless case gives you clearer footage and happier flights.
How to Take Care of the Camera Case Lens Frame
-
Avoid Forceful Assembly – When installing or replacing, align it properly with the gimbal housing. Don’t shove or twist—it’s a precision part, not a puzzle piece.
-
Protect From Impacts – Use a drone carrying case with padded compartments to prevent any knocks or dents to the lens frame during transport or storage.
-
Keep It Covered When Not Flying – If the camera shell isn’t in use, store it with a lens cap or inside a soft pouch. Dust and scratches like to sneak in when you least expect it.
-
Check for Loose Screws – Periodically inspect the mounting screws or clips to ensure the shell is firmly secured. A shaky shell means blurry footage and possible gimbal strain.
-
Avoid Overheating – Keep it away from direct sunlight for long periods. The plastic can warp slightly under extreme heat, which can misalign the lens or motor area.
Dos & Don’ts
Do’s
✔ Clean the case regularly, especially after flights in dusty areas
✔ Use only lens-safe wipes and non-abrasive cloths
✔ Store the replacement part in a padded, dust-free environment
✔ Handle installation with steady hands and proper tools
✔ Check the alignment before powering on the gimbal
Don’ts
✖ Don’t use glass cleaner or strong solvents—they can damage the lens coat
✖ Don’t force the shell onto the gimbal
✖ Don’t ignore signs of looseness or vibration after installing
✖ Don’t touch the lens directly with fingers
✖ Don’t expose the shell to direct heat or strong impact
How to Use
-
Turn off your DJI FPV and remove the battery like a responsible adult.
-
Gently unscrew and remove the old, battle-scarred frame—it’s had its moment.
-
Align the new frame with the gimbal and front shell, ensuring the camera sits comfortably.
-
Use the right screws in the right holes—don’t improvise like it’s IKEA furniture.
-
Once fitted, do a test movement of the gimbal to confirm freedom of motion.
How to Clean
-
Use a dry microfiber cloth to wipe off dirt—no rough treatment, it’s not a gym towel.
-
Avoid chemical cleaners—this frame isn’t auditioning for a car polish ad.
-
If grime collects near the camera mount, use a soft brush or a blast of camera-safe air.
-
For detailed cleaning, remove the frame and clean gently with lukewarm water, then air dry.
-
Never use tissue paper—it leaves bits behind and your drone deserves better.
Safety Tips
-
Power Down First – Always turn off and disconnect the battery before attempting to remove or install the gimbal shell. Gimbap can twitch, and fingers don’t like surprises.
-
Use the Right Tools – Tiny screws need the right-sized screwdriver. Avoid using kitchen knives or big screwdrivers—this isn’t DIY furniture assembly.
-
Avoid Static Damage – Use anti-static precautions when working on the gimbal, especially if touching internal connectors or components.
-
Don’t Over-Tighten Screws – Screwing too tight can crack the plastic or strip the mount holes. Snug is enough—tight isn’t always right.
-
Test the Gimbal After Installation – After installing the new shell, power on and test the gimbal’s movement. If it jerks or doesn’t move smoothly, recheck the fit before flying.
Conclusion
The Camera Case Lens Frame Replacement for DJI FPV is more than a piece of plastic—it’s a much-needed revival kit for your drone’s most important face. Whether you’re restoring it after a crash or simply giving it a new lease on life, this part ensures that your camera stays steady, your gimbal moves freely, and your footage remains breathtaking. Give your FPV drone the fresh, fearless look it deserves and let it fly like the legend it was born to be. Upgrade today—because drones deserve glow-ups too.
Specifications of Gimbal Front Shell Motor Part For DJI FPV
| Category | Specifications |
|---|---|
| General | |
| Product Name | Gimbal Front Shell Motor Part |
| Compatibility | DJI FPV Drone |
| Product Type | Gimbal Front Shell / Camera Lens Frame Component |
| Material | High-quality plastic with metal support structures |
| Weight | Ultra-lightweight, designed to maintain gimbal stability |
| Color | Grey – matches original DJI FPV body |
| Design & Build | |
| Structure | Molds directly onto gimbal assembly front section |
| Fitment | Engineered for perfect fit and stable alignment |
| Protective Function | Safeguards gimbal motor and camera lens from dust and damage |
| Mount Type | Internal clip/screw mount integration |
| Installation | |
| Installation Method | Requires gimbal disassembly and careful mounting |
| Tools Needed | Precision screwdriver and tweezers recommended |
| Skill Requirement | Intermediate to advanced DIY repair experience suggested |
| Performance | |
| Function | Restores the original look and function of the camera gimbal system |
| Alignment Accuracy | Keeps camera lens perfectly centered within frame |
| Additional Info | |
| Manufacturer | DJI (or OEM-equivalent) |
| Package Contents | 1 × Camera Case Lens Frame Replacement |
Be the first to review “Gimbal Front Shell Motor Part For DJI FPV” Cancel reply
Overview
Camera Case Lens Frame for DJI FPV – Because Even Drones Deserve a Face-Lift
Flying at full speed, doing flips, and showing off like a Bollywood hero—your DJI FPV drone leads a pretty dramatic life. But all that action takes a toll, and sometimes the camera case takes the hit. Whether it met a tree mid-flight or just had a rough landing, this Camera Case Lens Frame Replacement is here to give your FPV drone a fresh face. It’s not just a spare part; it’s your drone’s new selfie-ready look with full protection and proper alignment for the gimbal and front shell. Time for a makeover, your drone will thank you for (in high-definition, of course).
Key features of Camera Case Lens Frame For DJI FPV Gimbal Front Shell Motor Part
1. Perfect Match for DJI FPV’s Gimbal and Front Shell
When your FPV drone’s original faceplate gets cracked or misaligned, it can throw the whole vibe off—your gimbal starts acting confused, your footage looks like a bad dream, and your drone starts flying with a limp. This replacement frame is made with perfect OEM-level precision to restore harmony in your drone’s front-end structure. It aligns flawlessly with the gimbal, supports the motor section like it’s holding its best friend, and brings everything back to the original “fresh out of the box” glory. You don’t have to force-fit anything or offer silent prayers to the alignment gods—this piece just clicks in like it was born there.
2. Protects the Camera Like It’s Holding the Crown Jewels
The camera on your DJI FPV is not just a sensor—it’s your drone’s third eye, its main storyteller, and your personal cinematographer in the sky. This replacement lens frame doesn’t just sit there looking pretty. It wraps around the camera like a helmet, shielding it from unexpected smacks, dust, accidental finger pokes, and even kamikaze bugs that love to photobomb. Whether you’re ripping through forests or chasing sunsets, this frame makes sure your camera stays protected and your footage remains National-Geographic-worthy.
3. Tough Enough to Handle Your Flying Style (Even on Mondays)
Let’s face it—FPV drones aren’t meant for slow scenic tours. They’re adrenaline junkies with propellers. Which means, if you fly like you’re auditioning for a stunt double role, your drone needs tough gear. This camera case lens frame is made of durable, crash-resistant plastic that doesn’t panic when things get rough. It’s built to handle sudden impacts, close calls, and those legendary “almost made it” landings. In short, it’s more dependable than your friend who said he’d return your charger last year.
4. Fixes Camera Angle Woes Like a Gimbal Whisperer
If your footage suddenly looks tilted, shaky, or like a 2003 phone video, chances are your camera frame has gone rogue. This part steps in like a gimbal therapist—realigns everything, restores balance, and lets your motor and gimbal move in perfect harmony. Your camera stabilizes, your drone stops shaking like it saw a ghost, and your shots become cinematic again. One small fix, one giant leap for footage quality.
5. Install It Without Calling That One ‘Techie’ Cousin
You don’t need an engineering degree, a soldering kit, or a ritual circle of drone parts to install this. With just a screwdriver, a steady hand, and the emotional strength to face your broken drone, you can install this frame easily. It’s designed to be user-friendly, so the screw holes match perfectly, and the process won’t turn into a two-hour therapy session. No stress, no panic—just a straightforward DIY upgrade that makes you feel like a drone surgeon.
How to Clean the Camera Case Lens Frame Replacement
-
Start with a Dust-Off Ritual – Gently blow away dust using a rubber air blower or short puffs of compressed air. This removes surface debris without scratching the lens frame or shell area.
-
Use a Microfiber Cloth on the Frame – Lightly wipe the exterior of the camera case with a clean microfiber cloth. This prevents scratches while keeping the shell looking sharp and fresh.
-
Clean the Lens Window Gently – If the lens glass is attached, use lens-safe cleaning solution and a soft lens wipe to remove smudges and fingerprints. No pressure—just smooth circular movements like polishing a crystal ball.
-
Detail the Edges – Use a soft-bristle brush or cotton swab to clean around edges, screws, and tight corners. Dirt often hides where you can’t see, so give every nook some attention.
-
Dry and Inspect – After cleaning, let everything air dry naturally and double-check for smudges or lint. A spotless case gives you clearer footage and happier flights.
How to Take Care of the Camera Case Lens Frame
-
Avoid Forceful Assembly – When installing or replacing, align it properly with the gimbal housing. Don’t shove or twist—it’s a precision part, not a puzzle piece.
-
Protect From Impacts – Use a drone carrying case with padded compartments to prevent any knocks or dents to the lens frame during transport or storage.
-
Keep It Covered When Not Flying – If the camera shell isn’t in use, store it with a lens cap or inside a soft pouch. Dust and scratches like to sneak in when you least expect it.
-
Check for Loose Screws – Periodically inspect the mounting screws or clips to ensure the shell is firmly secured. A shaky shell means blurry footage and possible gimbal strain.
-
Avoid Overheating – Keep it away from direct sunlight for long periods. The plastic can warp slightly under extreme heat, which can misalign the lens or motor area.
Dos & Don’ts
Do’s
✔ Clean the case regularly, especially after flights in dusty areas
✔ Use only lens-safe wipes and non-abrasive cloths
✔ Store the replacement part in a padded, dust-free environment
✔ Handle installation with steady hands and proper tools
✔ Check the alignment before powering on the gimbal
Don’ts
✖ Don’t use glass cleaner or strong solvents—they can damage the lens coat
✖ Don’t force the shell onto the gimbal
✖ Don’t ignore signs of looseness or vibration after installing
✖ Don’t touch the lens directly with fingers
✖ Don’t expose the shell to direct heat or strong impact
How to Use
-
Turn off your DJI FPV and remove the battery like a responsible adult.
-
Gently unscrew and remove the old, battle-scarred frame—it’s had its moment.
-
Align the new frame with the gimbal and front shell, ensuring the camera sits comfortably.
-
Use the right screws in the right holes—don’t improvise like it’s IKEA furniture.
-
Once fitted, do a test movement of the gimbal to confirm freedom of motion.
How to Clean
-
Use a dry microfiber cloth to wipe off dirt—no rough treatment, it’s not a gym towel.
-
Avoid chemical cleaners—this frame isn’t auditioning for a car polish ad.
-
If grime collects near the camera mount, use a soft brush or a blast of camera-safe air.
-
For detailed cleaning, remove the frame and clean gently with lukewarm water, then air dry.
-
Never use tissue paper—it leaves bits behind and your drone deserves better.
Safety Tips
-
Power Down First – Always turn off and disconnect the battery before attempting to remove or install the gimbal shell. Gimbap can twitch, and fingers don’t like surprises.
-
Use the Right Tools – Tiny screws need the right-sized screwdriver. Avoid using kitchen knives or big screwdrivers—this isn’t DIY furniture assembly.
-
Avoid Static Damage – Use anti-static precautions when working on the gimbal, especially if touching internal connectors or components.
-
Don’t Over-Tighten Screws – Screwing too tight can crack the plastic or strip the mount holes. Snug is enough—tight isn’t always right.
-
Test the Gimbal After Installation – After installing the new shell, power on and test the gimbal’s movement. If it jerks or doesn’t move smoothly, recheck the fit before flying.
Conclusion
The Camera Case Lens Frame Replacement for DJI FPV is more than a piece of plastic—it’s a much-needed revival kit for your drone’s most important face. Whether you’re restoring it after a crash or simply giving it a new lease on life, this part ensures that your camera stays steady, your gimbal moves freely, and your footage remains breathtaking. Give your FPV drone the fresh, fearless look it deserves and let it fly like the legend it was born to be. Upgrade today—because drones deserve glow-ups too.
Details
| specifications |
|---|
Reviews
There are no reviews yet.

Reviews
There are no reviews yet.